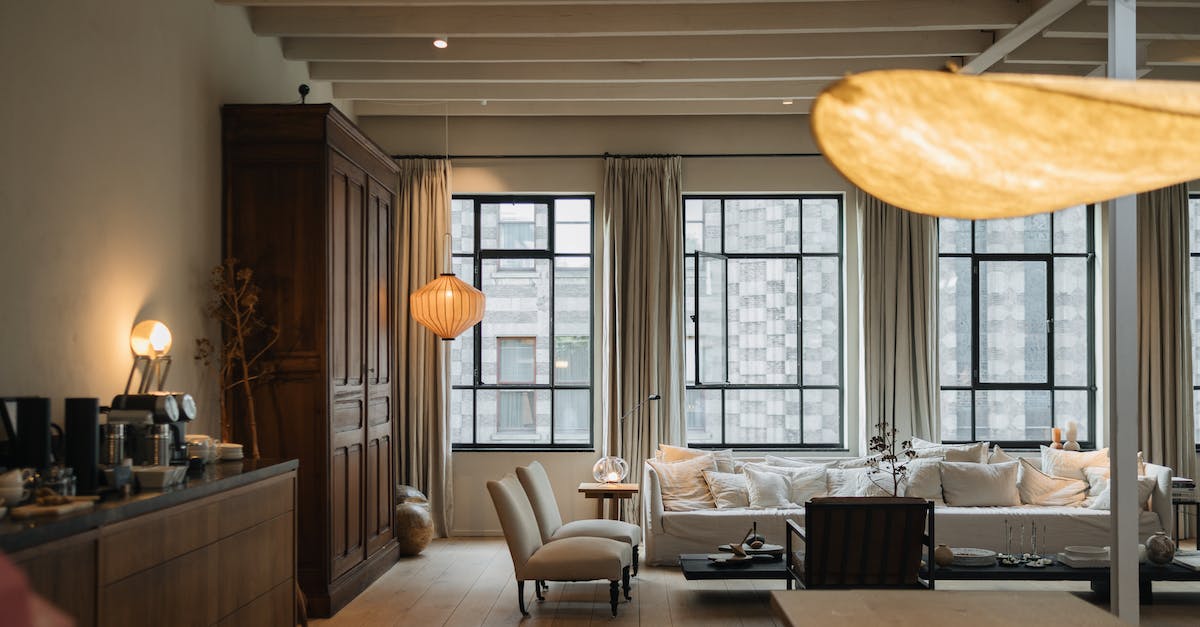
Transform Your Furniture Revamps with Creative Decorative Details
Furniture revamps can breathe new life into your living space, and I’m here to guide you through it. With my years of experience and a keen eye for style, I’ll show you how to transform your old, worn-out pieces into something spectacular.
In this article, we’ll explore different techniques for revamping furniture, from simple paint jobs to intricate upholstery work. You’ll discover how to choose the right materials, tools, and colors to create a unique piece that reflects your personality.
Choosing the Right Piece
Before undertaking any furniture revamps, the first step is Choosing the Right Piece to work on. Instead of going for brand-new ones, you’ll find that aged or worn-out pieces often have more character—a story that’s waiting to unfold.
When hunting for the perfect piece to reinvent, consider what you’re going to use it for and where it will be placed in your space. Extra attention to detail like this makes the end result all the more satisfying.
And how about materials? If it’s your first project, I highly recommend starting with wooden furniture. It’s easy to work with and caters to a vast array of transformations. How about a mid-century desk? Maybe a shabby chic dresser or a classic wooden chair? These pieces provide the perfect canvas for your creativity.
Remember, though, it doesn’t need to be in perfect shape. Imperfections add a unique charm. Don’t shy away from pieces with scratches or chipped paint.
Also, when choosing a piece, size matters. If you’re a beginner, start with a project that’s manageable in size. You don’t want to bite off more than you can chew.
Regardless of the piece you choose, always keep an eye on the structural integrity. Check for wobbly legs, loose joints, or any signs of significant damage. While revamps can mask some of these issues, it’s crucial to opt for a sturdy and functional piece from the beginning.
Preparing the Furniture
After you’ve selected the perfect piece to refresh, it’s time to roll up your sleeves and begin the preliminary stage – preparing the furniture. This involves examining the item for damage, cleaning it meticulously, and disassembling if required.
Look over every inch of the furniture and note any prominent defects. This could be anything from loose joints to missing hardware or even damaged surfaces. Then, get your hands dirty and clean the piece thoroughly. I recommend using a mild soap and a soft cloth to gently remove dirt, grime, and old polish. Gentle cleaning ensures that you maintain the charm and character that may be hidden beneath the dirt.
For intricately designed or larger pieces, consider disassembling the furniture to make the job easier. Remember, it’s important to handle the furniture carefully. Older pieces may be delicate and prone to damage if handled roughly. So, grab your toolbox, and take apart the furniture piece by piece. Keep all screws, nails, and other hardware in a safe place. You’d be surprised how often these small parts can get lost in the process.
Pro Tip: Take pictures as you disassemble so you can reassemble the piece without troubles. Pictures can act as a guide when you’re ready to put everything back together.
You might wonder about those imperfections I’d mentioned before. These scratches, chips, and worn patches play a crucial part in giving your revamped furniture a vintage feel. Rather than covering them up, we’ll be incorporating these features into the design. Trust me, with a little bit of creativity, these so-called ‘flaws’ will turn into unique selling points.
Next in line is sanding. Retirement for your furniture doesn’t mean it skips a spa day. So, prep your device or get the sandpaper ready. We’ll delve deep into the sanding process in the following sections. It’s time to bring your old item back to life.
Sanding and Repairs
Moving on to the sanding process, this is where the magic truly happens. More often than not, sanding is a step that’s overlooked, but let me assure you, it’s crucial in furniture revamping. By rubbing the surface with abrasives, I’m able to smooth any rough surfaces and even remove superficial layers of old paint or finish. Not to mention, sanding promotes bonding when you’re applying a new coat of paint, sealant, or stain.
Whilst sanding, I typically kick off with a coarse grit, generally in the 40-60 range. As I progress, I gradually switch to a finely grained sandpaper, usually in the 100-150 range. What’s the reasoning behind this? You may wonder. Well, the coarse grit deals with the more stubborn spots – think old varnish, stubborn paint or other hard-to-erase defects. Subsequently, the finer grit adds that last touch of smoothness we’re aiming for.
Carrying on to repairs, it’s an area that warrants attention. Here’s where diligence is key, as you’ll need to address damaged parts or defects that were noted during the preparation phase. Many old pieces of furniture may require filling, gluing, or even replacing certain components. When repairing, I always ensure to use high-quality wood glue for joints and putty for filling dips or holes. Post-repair, once everything is dry and secure, I give it another round of light sanding to blend the repaired areas, setting a smooth continuous surface for painting or staining.
Stay with me, as our furniture revamp journey continues. Up next, we will delve into the importance of sealing and the vitality it plays in the revamping process.
Painting Techniques
After completing the sanding and repair phase, we’re well on our way to a successful furniture revamp. The next stop on our revamping journey is exploring painting techniques. It’s a well-known fact that a fresh coat of paint can transform an old drab piece into something fabulous. Paint application techniques determine the final look so choosing the right one is pivotal in the revamping process.
There are several painting techniques worth mentioning. Each has its unique set of characteristics.
- Brush painting is the most popular one probably due to its simplicity. However, strokes must be smooth and straightforward to ensure an even coat. Pro-tip here: always go with the grain of the wood for best results.
- Spray painting is another easy-to-use technique. Its biggest advantage lies in the fact that it offers a smooth finish without any brush strokes. However, it requires you to use a protective mask due to floating paint particles.
- Distress painting is a technique used to give your furniture a vintage, aged look. It involves applying a base color, followed by another layer of complementary color, and then sanding sections of the top layer for a weathered look. Distressing can give a unique, personalized touch to your revamped furniture.
Painting doesn’t only revamp your old furniture but also protects it from everyday wear and tear. Different painting techniques offer different advantages in terms of aesthetics and functionality.
Upholstery Options
After we’ve gone through the process of sanding, repairing, and painting, the next phase in our furniture revamp journey is delving into the world of upholstery. Giving life to your old furniture may mean replacing worn-out fabric, or simply refreshing its look with a new design.
Before we embark on upholstery, we’d need to consider a few factors, mainly fabric type, durability, and cost. The style of your furniture also determines the kind of upholstery fabric to pick. From cotton and linen to synthetic microfiber and luxurious leather, your choice of fabric impacts not just appearance, but also the long-term wear of your furniture.
Let’s dive into the different type of fabric options:
Cotton and Linen: Natural, breathable, and generally resistant to fading, these fabrics are versatile for upholstery. While cotton and linen aren’t immune to staining, they can often be cleaned with simple solutions.
Synthetic Microfiber: Designed to mimic the luxurious feel of suede while being significantly cheaper, microfiber is a practical choice for homeowners. It’s durable, water and stain resistant, making it an excellent choice for everyday use.
Leather: Prized for its tough, long-lasting nature, leather makes for a smart investment in the long run. Its timeless appeal and patina with age only adds to its charm.
Once you’ve selected the fabric, the next part involves reupholstering the furniture. It’s something you could DIY, or involve a professional, pending on comfortability and project complexity.
It’s essential to know that reupholstering isn’t just about wrapping fabric around furniture. It involves padding, applying fabric evenly, securing it in place, and then finally, the detailing.
Padding: The comfortable part that cushions our bodies. It’s usually foam, but could be down or other materials. You’ll have to choose the right one for your piece.
Applying Fabric: This is where skill and precision come in. It’s not something you casually drape over. It’s pulled taut, maneuvered around corners, and secured tightly.
Securing Fabric and Detailing: Here, the fabric is stapled or tacked down, with final touches such as trimming excess fabric, fixing decorative braids, and making sure everything looks neat and professional.
It’s clear that while painting adds flair to our furniture, reupholstering takes it to another level, providing
Adding Decorative Details
Once we’ve reupholstering our furniture pieces, our attention should shift to Adding Decorative Details. It’s these finishing touches that truly personalize a piece and make it uniquely ours. In this step, we can be as creative and adventurous as we want – from embellishing with elegant trims to accessories that reflect our personal style.
Choosing the perfect decoratives is a mix of practicality and aesthetic beauty. We need to consider our current decor style, color palette, and the purpose of the furniture piece. Remember, less is more. We don’t want our work to end up looking cluttered and overdone.
For a modern look, clean and simple detailing is the way to go. Think sleek ropes or trimmings around the edges or perhaps a single elegant embellishment. Metal accents, on the other hand, enhance a more rustic feel. Consider handle replacements or adding studs around edges for a vintage effect.
Buttons offer another stylish way to add character to furniture. Deeply set buttons on a fabric create a dimpled effect – known as buttoned or tufted upholstery. This classic detail can give furniture a lavish, traditional feel.
If we don’t favor the traditional look, we can add subtle modernity with designer cushions. Here are a few pointers for selecting cushions:
- Choose cushions in a complimentary color scheme
- Opt for high-quality materials that are durable
- Consider texture – velvet, silk, or even faux fur can create a striking impact
This creativity filled crafting journey continues as we look into the next critical aspect of revamping furniture – the art of restoration.
Conclusion
Revamping furniture isn’t just about freshening up its look, it’s also about adding a personal touch that reflects your style. Whether it’s through the elegance of trims, the sleekness of metal accents, or the comfort of designer cushions, these details make a world of difference.
Don’t forget about the art of buttoned or tufted upholstery, which can elevate a simple furniture piece to a showstopper. And remember, choosing the right cushions isn’t just about looks, it’s also about how they serve their purpose in your space.
But the journey doesn’t end here. The next step, the art of restoration, awaits. It’s where you bring back the charm of the old while embracing the new. So, get ready to roll up your sleeves and dive into the world of furniture revamps. It’s an adventure that’s as rewarding as it is exciting.
Frequently Asked Questions
Q: How can I personalize my furniture?
A: Consider factors like your current decor style, color palette, and the purpose of the furniture piece. Get creative with decorative options such as elegant trims, metal accents, buttons, and designer cushions.
Q: What is buttoned or tufted upholstery?
A: Buttoned or tufted upholstery refers to a technique where buttons or tufts are used to create a pattern on the fabric. This adds depth and texture to the furniture, giving it a more luxurious and elegant look.
Q: Any tips for selecting cushions?
A: When choosing cushions, consider factors like the size, shape, and firmness that will provide both comfort and aesthetic appeal. Play around with different patterns, textures, and colors to find the perfect match for your furniture and overall decor style.
Q: What is the next phase after adding decorative details?
A: The next critical aspect of revamping furniture is the art of restoration. This involves repairing any structural damages, repainting or refinishing the furniture, and ensuring its overall functionality and durability are restored.